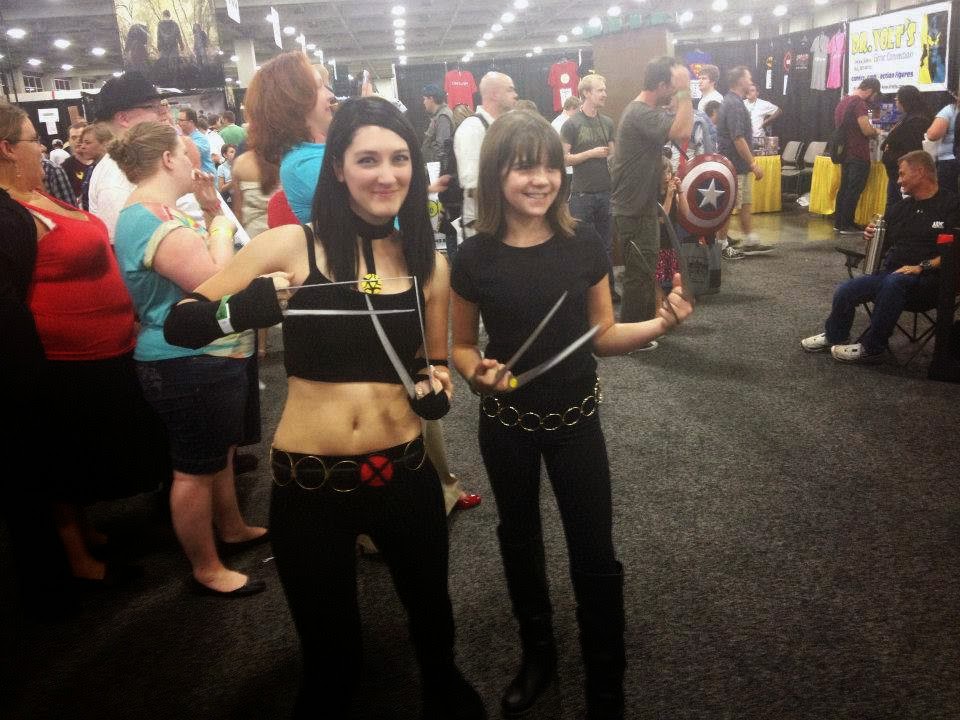
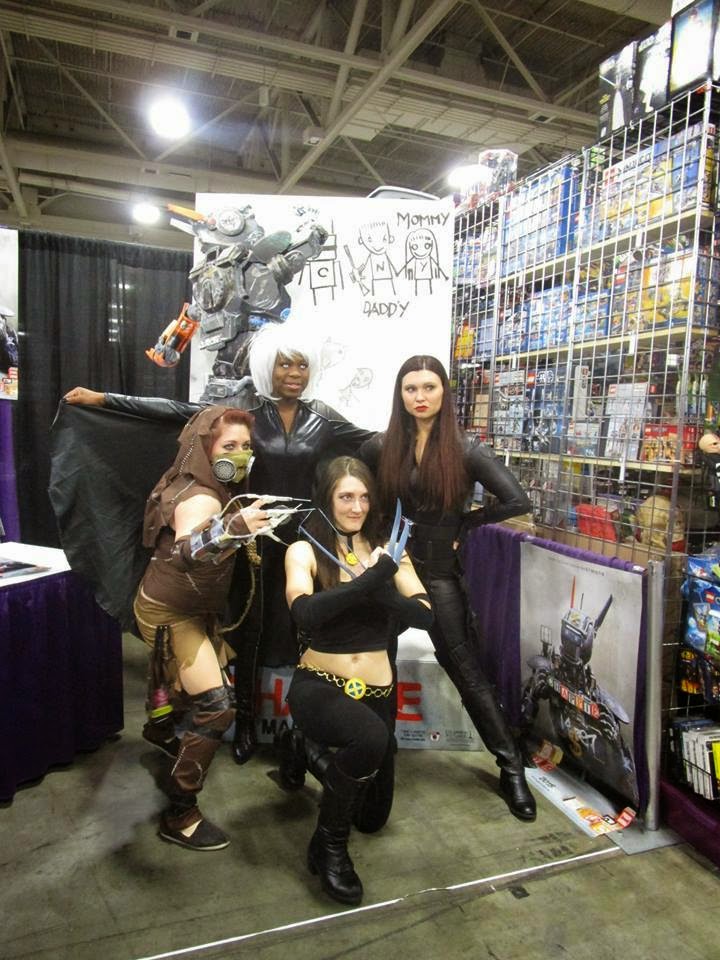
I pulled out my old X-23 cosplay and did some revisions. One of the blades had broken, my belt fell apart etc. etc. And I was excited that, though the changes were small, I had improved.
There are still things I want to do, so I'm compiling my list again so I can come get the resources to make her even better.
First, let's compare this year to last year:
Note the awful belt. I literally took large floral wire and hot glued it to a belt. And the buckle is just cloth over cardboard. The necklace was cloth over duct tape safety pinned together. And the pendant was duct tape again, and the design was just drawn on.
The claws only look good because a friend of mine made them from fiberglass and formed them perfectly to fit my knuckles. Thy are the best thing about the cosplay.
If you want to go that route - there's nothing wrong with it.
But, let's check out this year!!
This year I did some things different.
First, I would start off with the hair, but I use my natural hair for this. Which is nice and easy.
To start from the top - it's way easy.
Hair? I just dyed my natural hair black. The style isn't the same exact one as X23's but she has so many fanarts and renditions that it doesn't matter.
The shirt?
 Just find a black tank top. Honestly, not that hard. Check basically anywhere and you can find it. The only trick is finding one that has decently large straps. You don't want a full spaghetti strap shirt. That's what I went with, but if I'd had time I would have gotten a better shirt to top it off.
If you want some options I'd check out this black tank top from Amazon. You don't want a ribbed, cotton one if you can help it. Something smooth or shiney is going to look much better. Either way, make sure it is as tight as you can get without looking squeezed in. If you need to tailor it, I recommend it. You will also need to modify it by cutting off the bottom.
I didn't bother cutting it and sewing it, I just folded any excess under my bra, lol.
Basically I took some thick ribbon and sewed it together. And then I took a clasp and sewed it in the back. Bam. Done.
The harder part was the pendant. I used craft foam, my lovely friend. I had to print out the design and use it to cut out the symbols. I wanted it to have layers so it looked more real.
I glued it together with superglue, but modge podge would work. I also modge podged it, painting it, then modge podged it again to seal it up. Turned out pretty good.
Next we've got the belt. Which is gold and blue, not red and black like most Xmen.
I basically did the same thing as the pendant. I cut the circle and X symbol out of craft foam, glued it, modge podged it, painted it, then modge podged it again. To give it some more substance I actually glued it to some cardboard as well.
The tricky part was finding a belt to attach the buckle to. I just found one on ebay by searching "gold circle belt" lol.
 When I found the belt I had to adjust it to fit without having hanging extra pieces. I just used some pliers to switch around loops. To attach the buckle I just flipped the belt around, and hot glued the crap out of it. It didn't work trying to get it on the clasp, so I figured it just best to put the clasp behind me and make the buckle look good in the front.
I'm skipping to the boots really quick. I used a pair I bought awhile back that I"m in love with. They happened to work perfect. However, if I had the money I'd totally buy these ones. They've got some of the straps already, which is something I didn't want to bother making to be honest...
.jpg) Anyways, back to leggings. I just used some regular ones I already had. However I am going to probably buy more shiny ones in the future. Like these which are pretty cool because they are more interesting to look at. But if you're looking for shiny without design, these are a good option and probably will be the ones I get next.
Anyways, back to leggings. I just used some regular ones I already had. However I am going to probably buy more shiny ones in the future. Like these which are pretty cool because they are more interesting to look at. But if you're looking for shiny without design, these are a good option and probably will be the ones I get next.The last part would have to be the claws. I recommend making some templates out of cardboard. If you can get them to work, just use that, and paint them. If you want to go the extra step to awesome ones, try using cintra. Make sure to SAND it before you paint. I made that mistake...never again. It chips so bad.


No comments:
Post a Comment